
New/Edit System
How to Get There
In the Navigation Pane, choose Agents, then IBM i Agent, then click Add.
What it Does
Use these settings to add a system to be authenticated with the IBM i agent. The system needs to have been added to Insite (see Product Connections), and have Access Authenticator installed.
The settings on this page allow Access Authenticator administrators to configure the action to perform (allow or deny) for IBM i user profiles on the system that are not allocated to an Access Authenticator user.
Upon signing on to a system secured by Access Authenticator with a user profile not attached to an Access Authenticator user, Access Authenticator first consults the settings on this screen to determine whether to allow or deny the user access. If 'Use Agent Defaults' is set to On, or the user profile is otherwise allowed by the settings on this screen, Access Authenticator defers to the settings on the Edit Default System screen.
In other words, here, Access Authenticator administrators can allow or deny access to specific user profiles as exceptions to the default action specified on the Edit Default System screen.
This page also allows administrators to change the default authentication status (enabled or disabled) for each exit point.
Options
System; Select System (New System only)
Click Select System to open the Select System screen, where you can choose the system to be added.
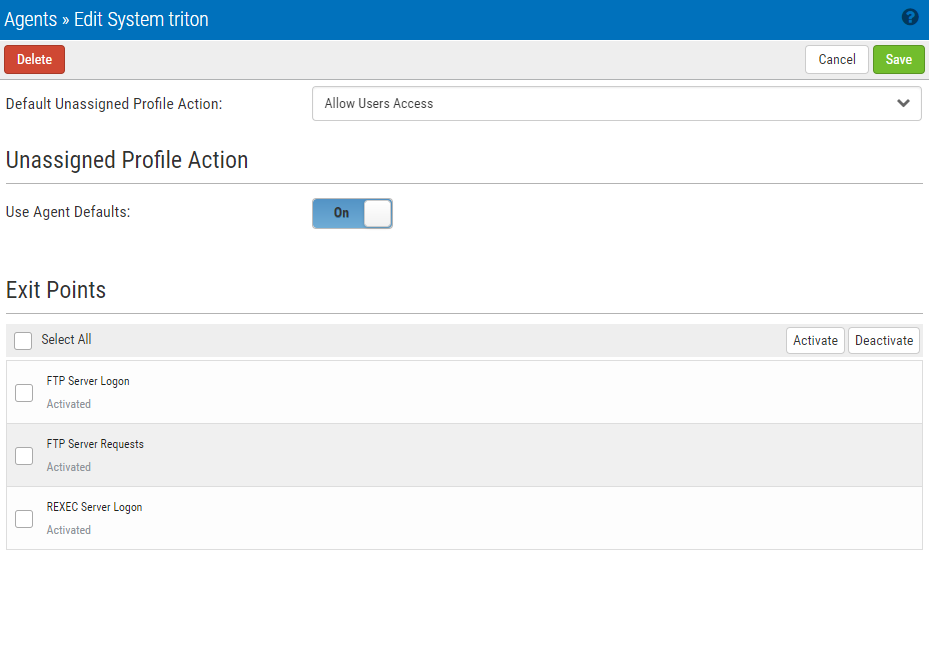
Default Unassigned Profile Action
Choose Deny users access to reject login attempts by IBM i user profiles not connected to an Access Authenticator user. Choose Allow users access to grant access to user profiles not connected to an Access Authenticator user. Unassigned users that have been granted access will inherit the user settings of the Default Group. The Default Group is listed on the Users screen. Choose Inherit user access to use the setting defined in the Edit Default System page.
Unassigned Profile Action
Use Agent Defaults; On • Off
Choose On to use the Unassigned Profile Action settings defined in the Edit Default System page. Choose Off to use the Unassigned Profile Action settings defined on this page for this system.
Exit Points; Activate • Deactivate
Check the exit points you would like to activate or deactivate. Click Activate to secure them with Access Authenticator. Click Deactivate to stop securing them with Access Authenticator. For example, if the system is enabled, and you set an exit point to Deactivate and click Save, Access Authenticator sends a message to deregister the exit point program with Access Authenticator. If the system is not currently enabled in Access Authenticator, and this setting is changed, the setting is stored in the database so that when the system is enabled within Access Authenticator, Access Authenticator will apply the activate/deactivate setting as appropriate, and register/deregister the exit point program accordingly.